#blog
Amano Build Log
Published Oct 7, 2023 by Tactile Zine
Just another Amano XD
Build Log for my Amano
I built my first keyboard in literally years and figured I’d document it because build logs are still fun. Nothing fancy with this build. Just me learning about a bunch of new stuff along the way. Just FYI, some of the images aren’t the best because I didn’t realize the ultrawide lens on my camera wasn’t the best until later. Also I should’ve checked focus or taken more pictures while I was going. Oops.
Specs
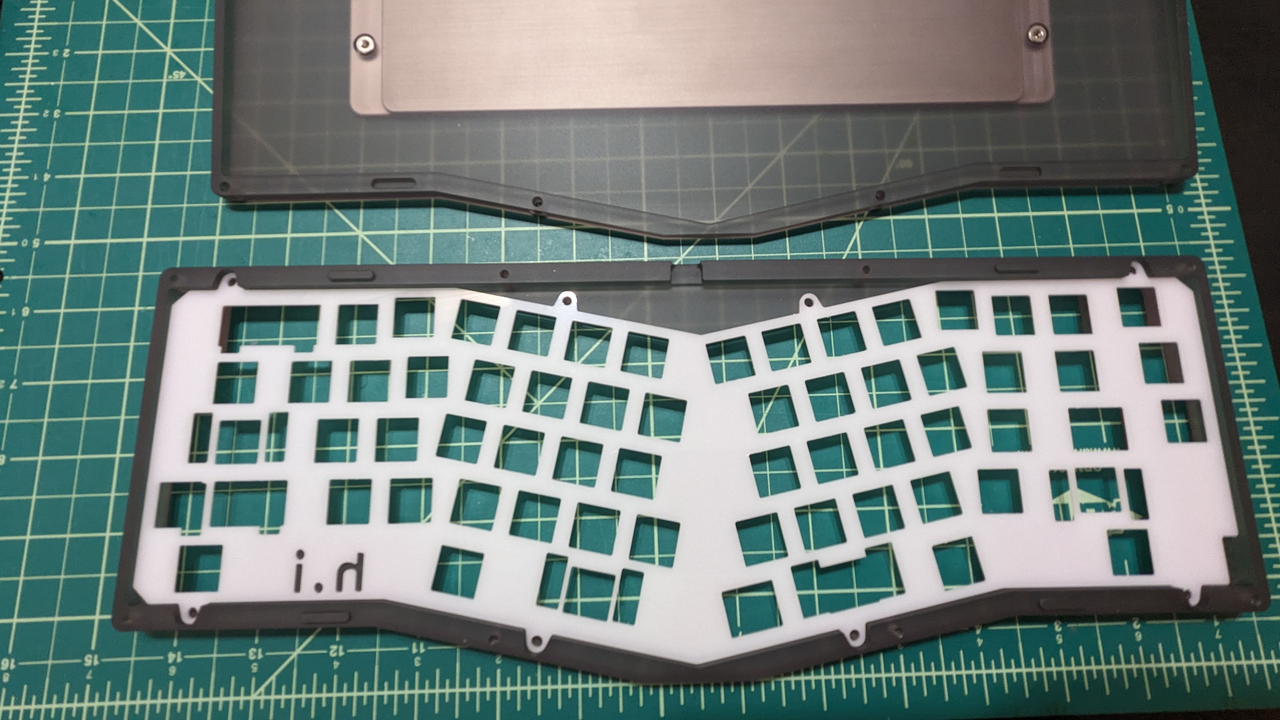
- POM plate
- Invokeys Black Sesame switches stock
- Durock Screw in and TX V4 Clip In Stabilizers - lubed with Krytox 206g0
- I decided to build with split backspace and split right shift so I can run this in HHKB layout.
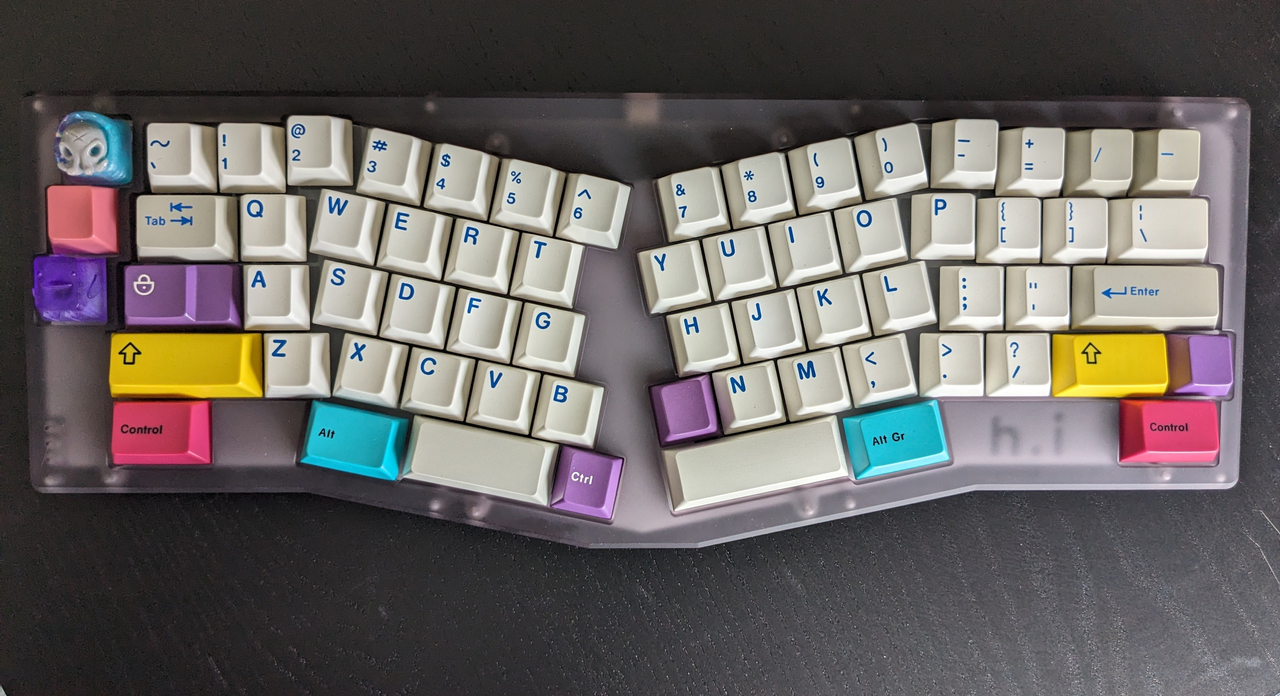
In the picture above…
Keycaps
Resin
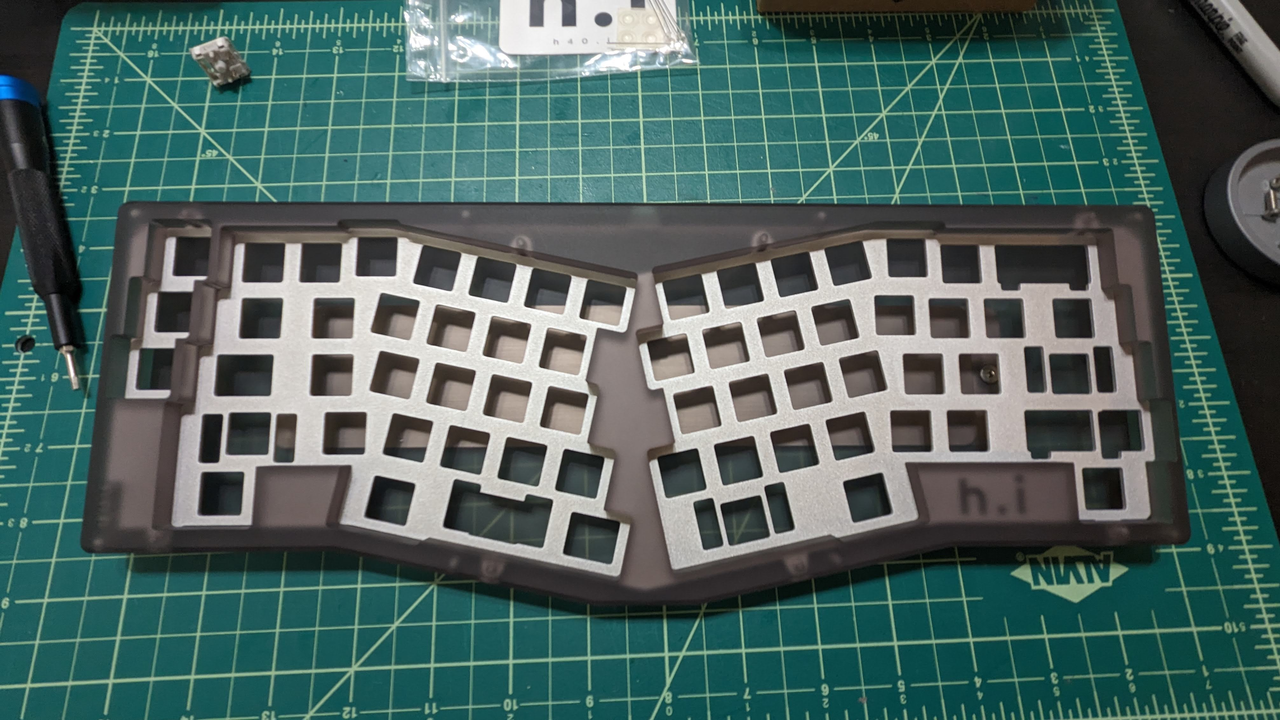
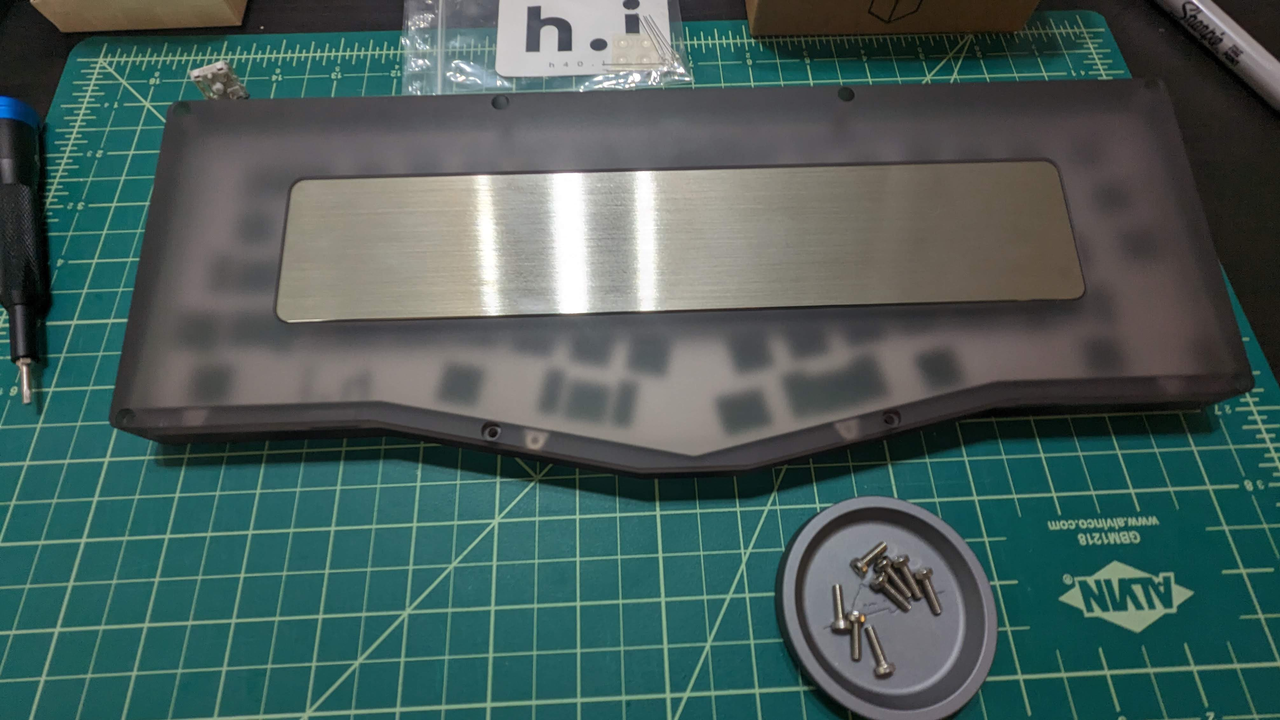
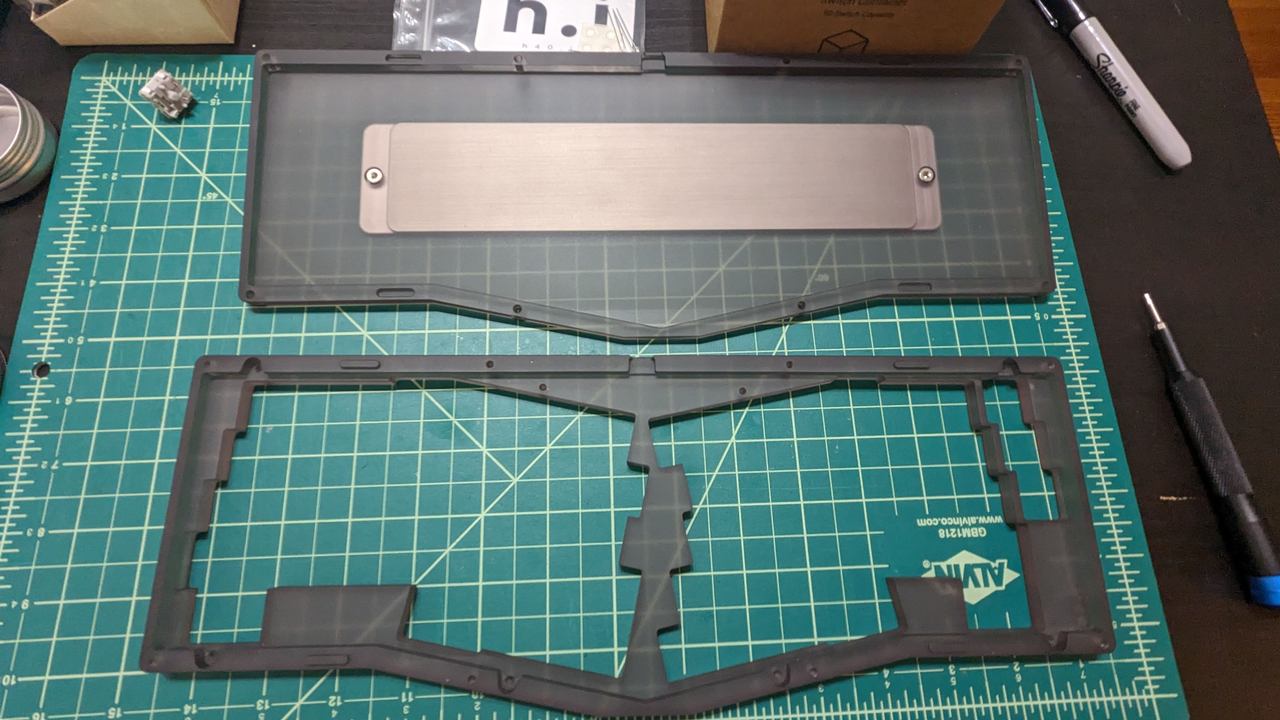
The kit straight from h40
I got this from h40 when they ran their sale for the Amano R2. It’s the smoke color. I decided to use the included POM plate after testing out a board at the July 2023 NYC meetup with a POM plate.
Throughout the build, I referenced extrapriusplease’s build stream to help me along. I hadn’t built a keyboard in years and there was a lot of details I had to try and remember.
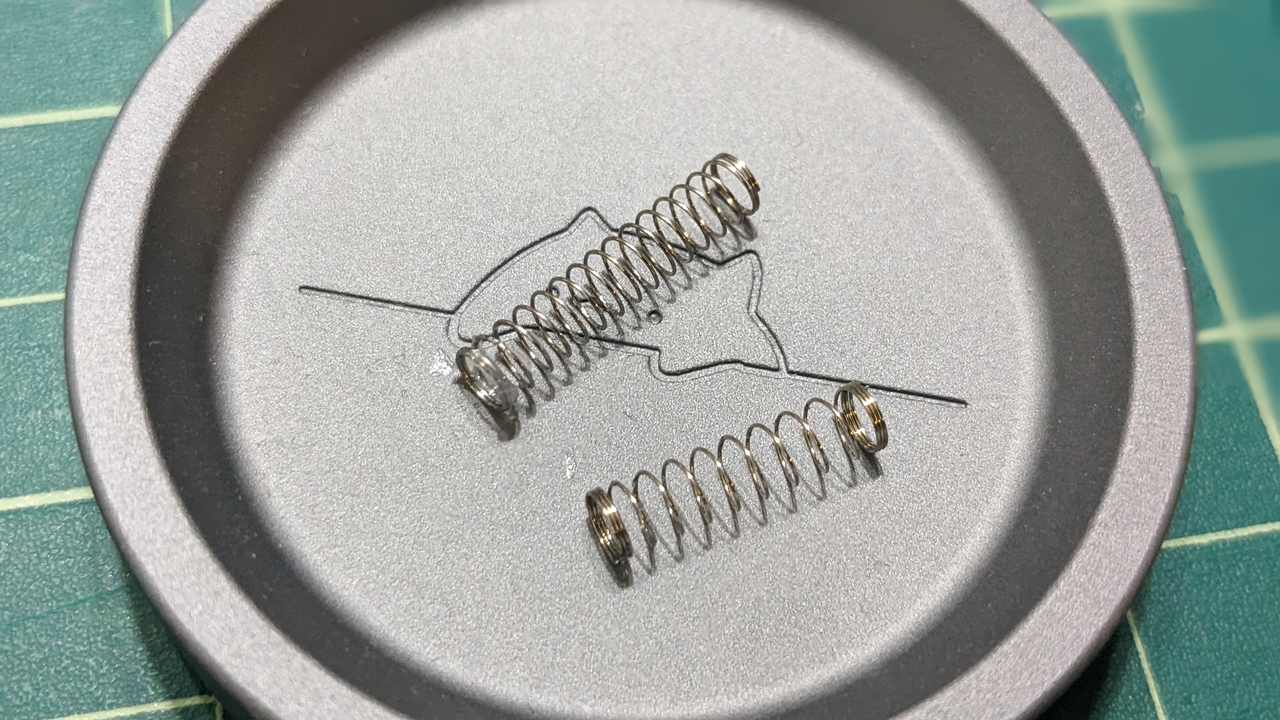
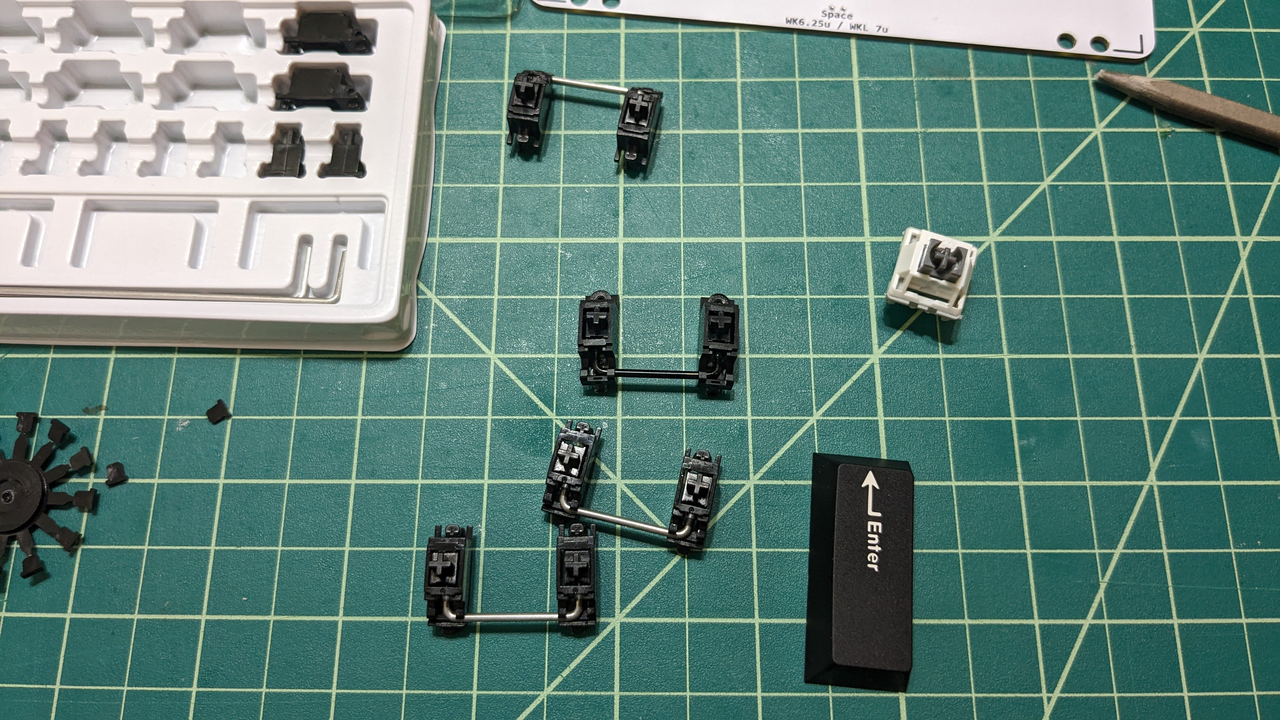
Stock spring (left) versus a TX XL (right)
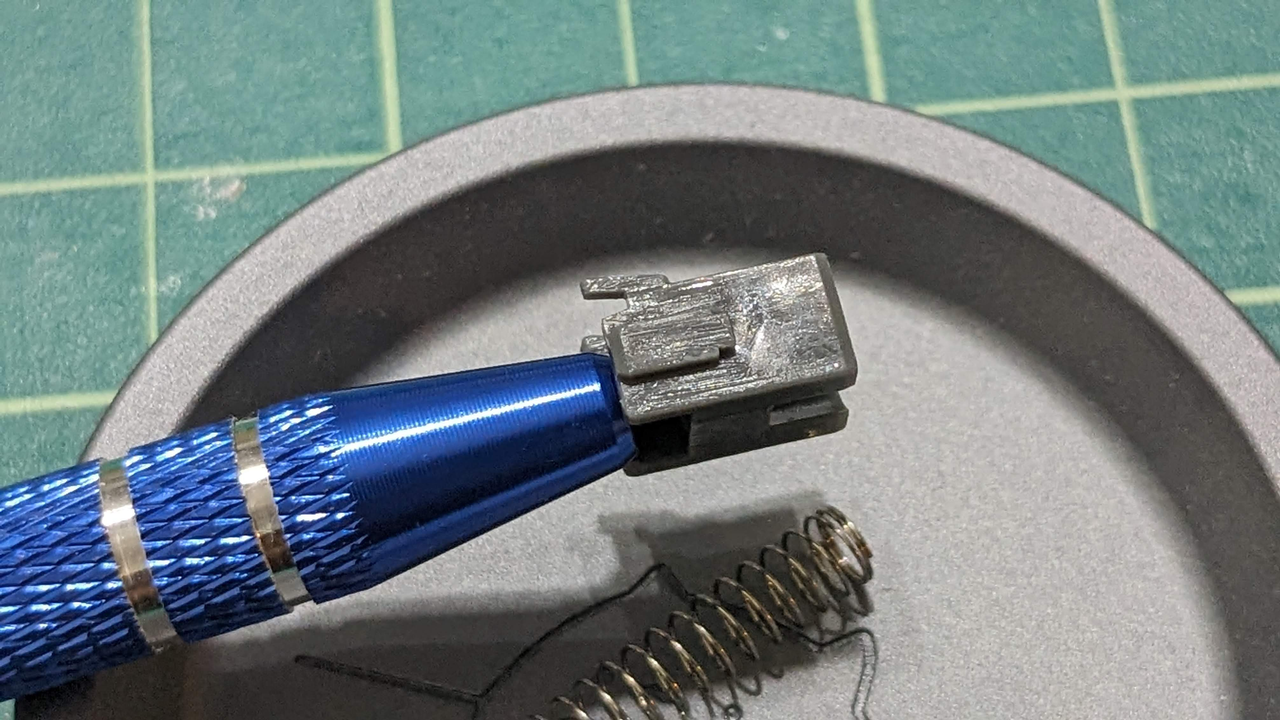
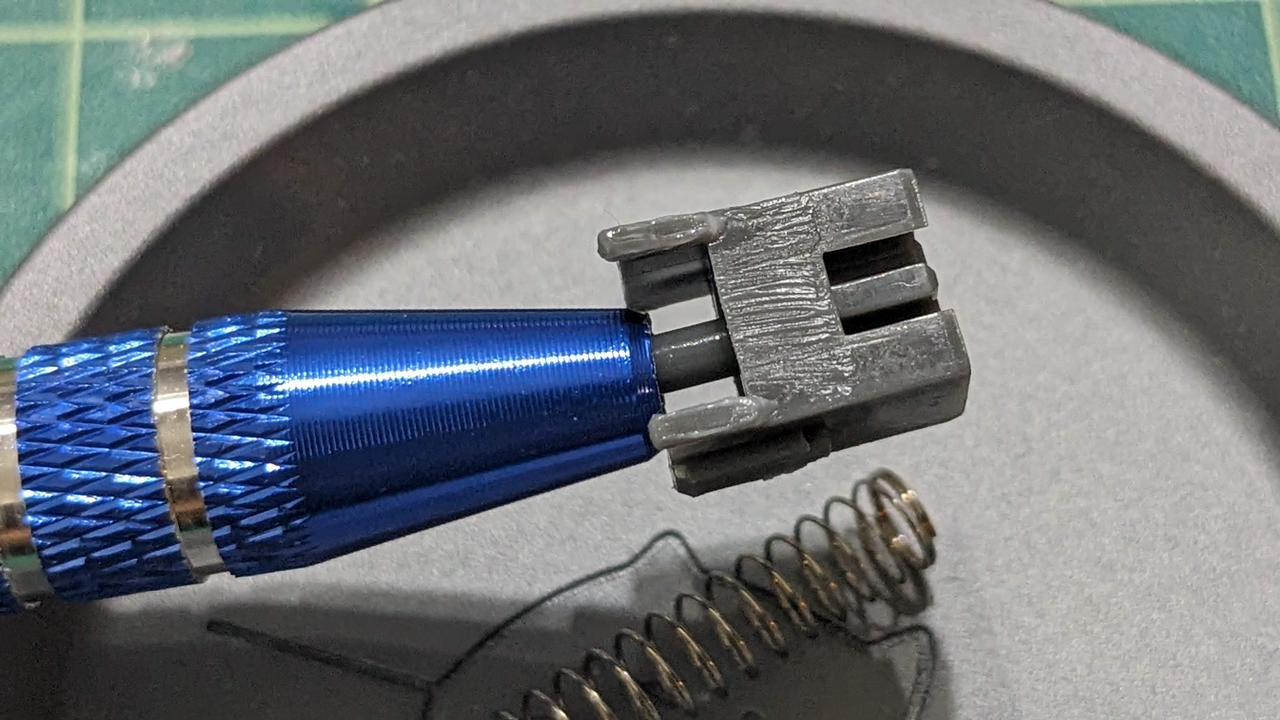
Factory lube job
First thing I needed to decide was what to do with the switches. I’ve never had the chance to just use stock switches since I have only ever built MX boards when the newest switch was the Zealio switches made by Gateron.
After buying some switch samples and combing through ThereminGoat’s scores, I landed on using Invokeys Black Sesame switches. However, I thought I’d have to lube the switches and springs because my samples came dry. I was surprised to learn they were factory lubed…..but I was a bit skeptical so I opened one up.
Turns out that I liked the switches as is. The spring feels nice and the lube job is actually not bad in my opinion.
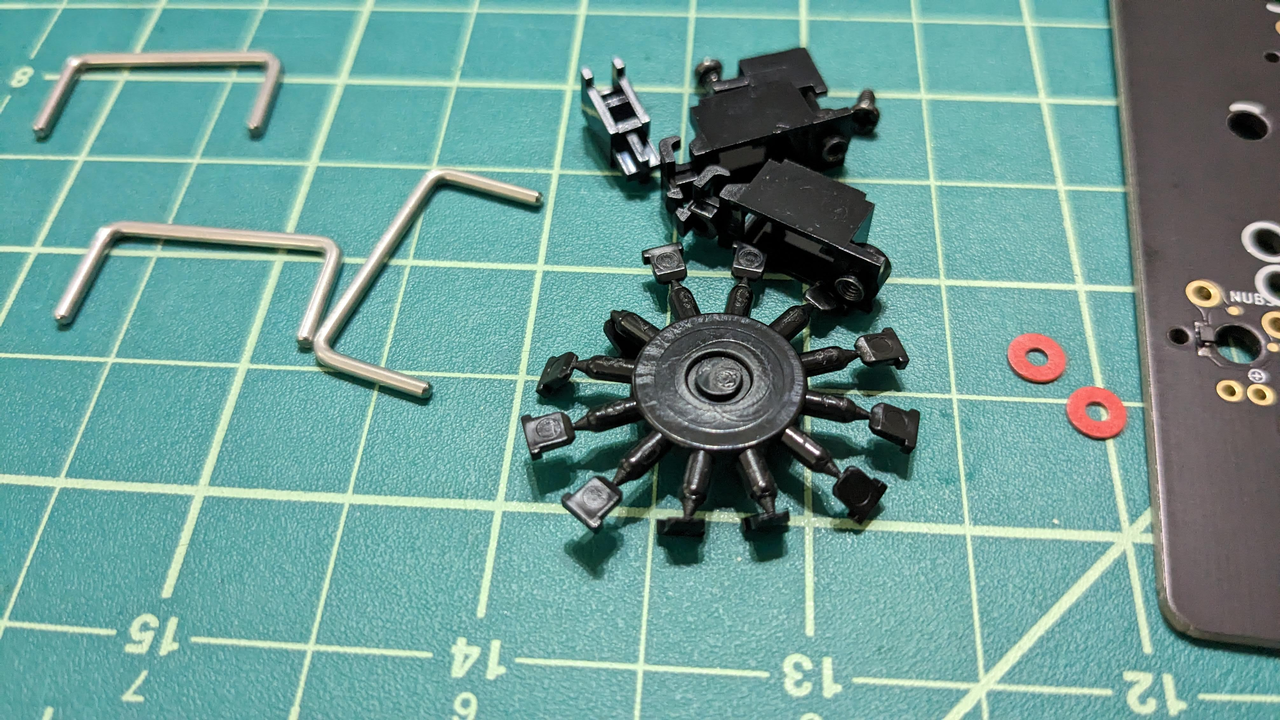
TX Stabilizer Stab Stoppers and Durock Screw In Stabs
Screw in and plate mounted stabilizers.
Stab Stoppers inserted
Next to figure out I’m supposed to do with my stabilizers. Weirdly the Alice builds use both a screw in and plate mounted 2x stabilizer for the spacebar. When I asked what I should use, I got different replies from different builders. I ended up using the screw in and plate mounted combo which works fine. It doesn’t feel that different to me either. Also I had no idea what stab stoppers were or how to insert them so this video was really helpful.
Lubing Stabilizers
All Done!
Next I had to lube the stablizers. I bought some stablizer tester PCBs to help because I knew I would be handling the PCBs a lot as I tried to learn and remember how to tune the stabs. I was concerned my sweaty hands would mess with the original PCB so this was a nice peace of mind tool. I ended up using Krytox 206g0 because I forgot I had a bunch of other lubes and it was sitting out on my project desk lol. I like how it felt on the trial stabilizer set I messed with so I just kept using it.
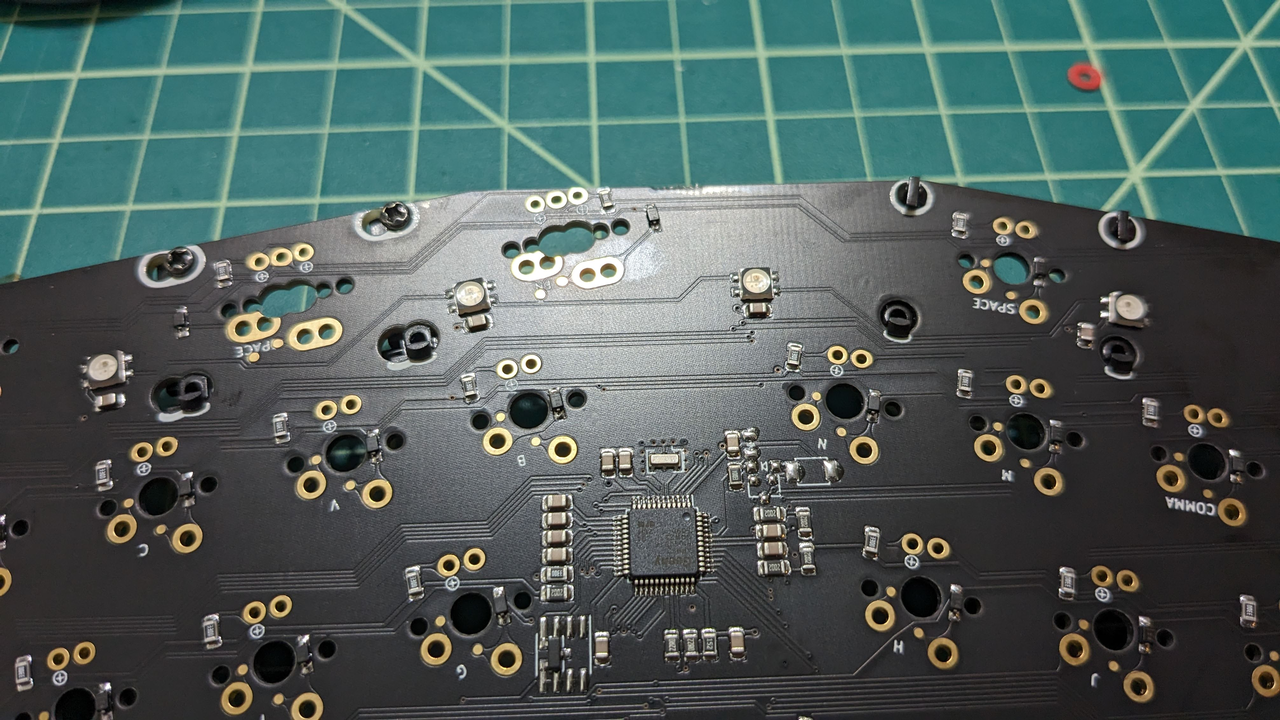
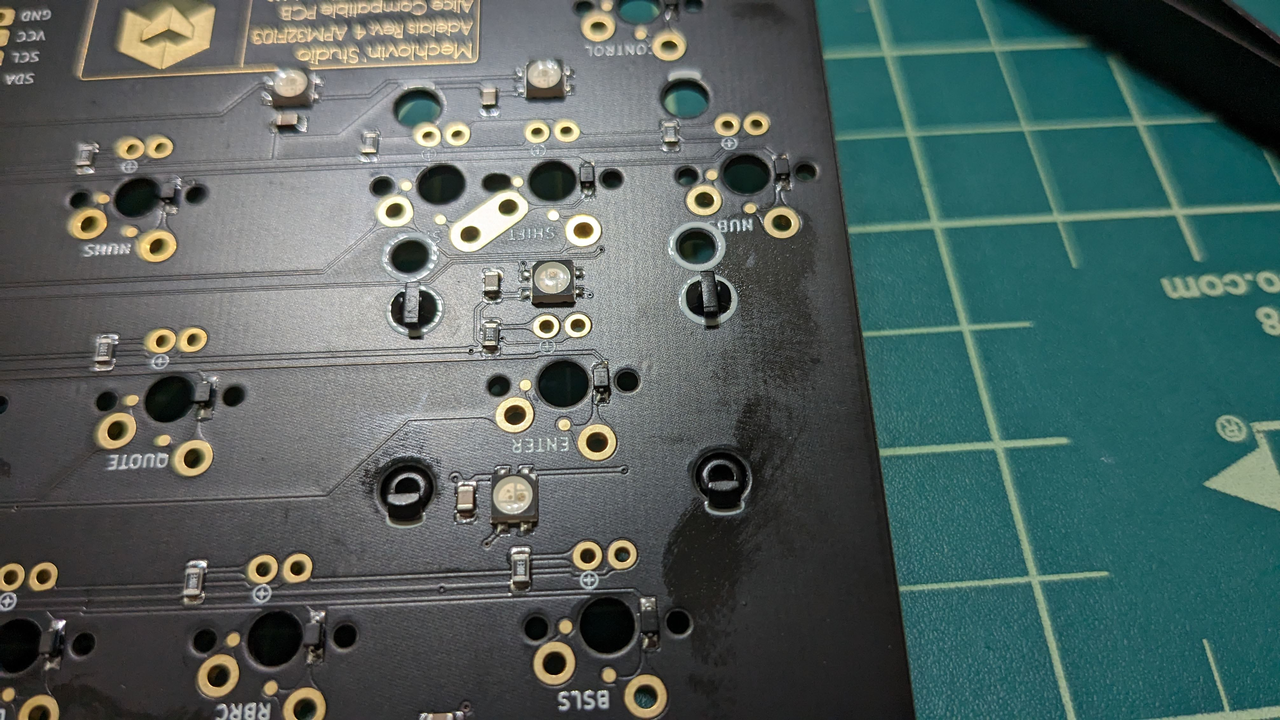
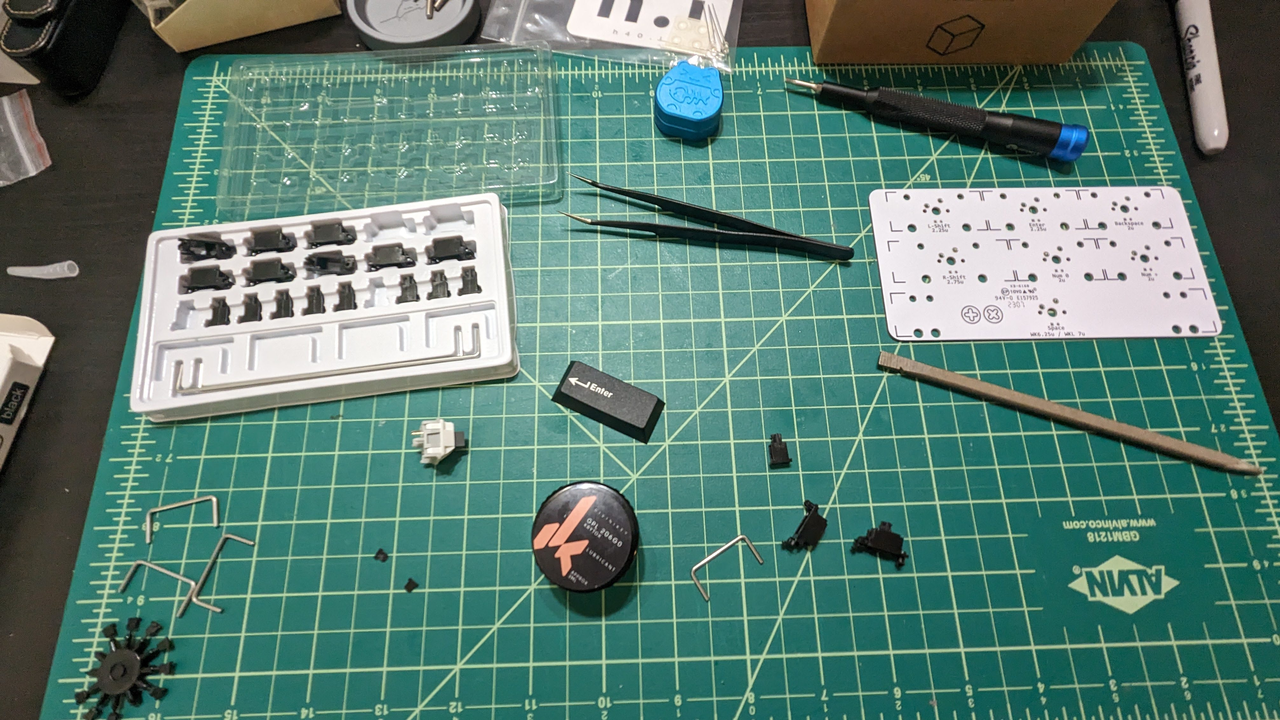
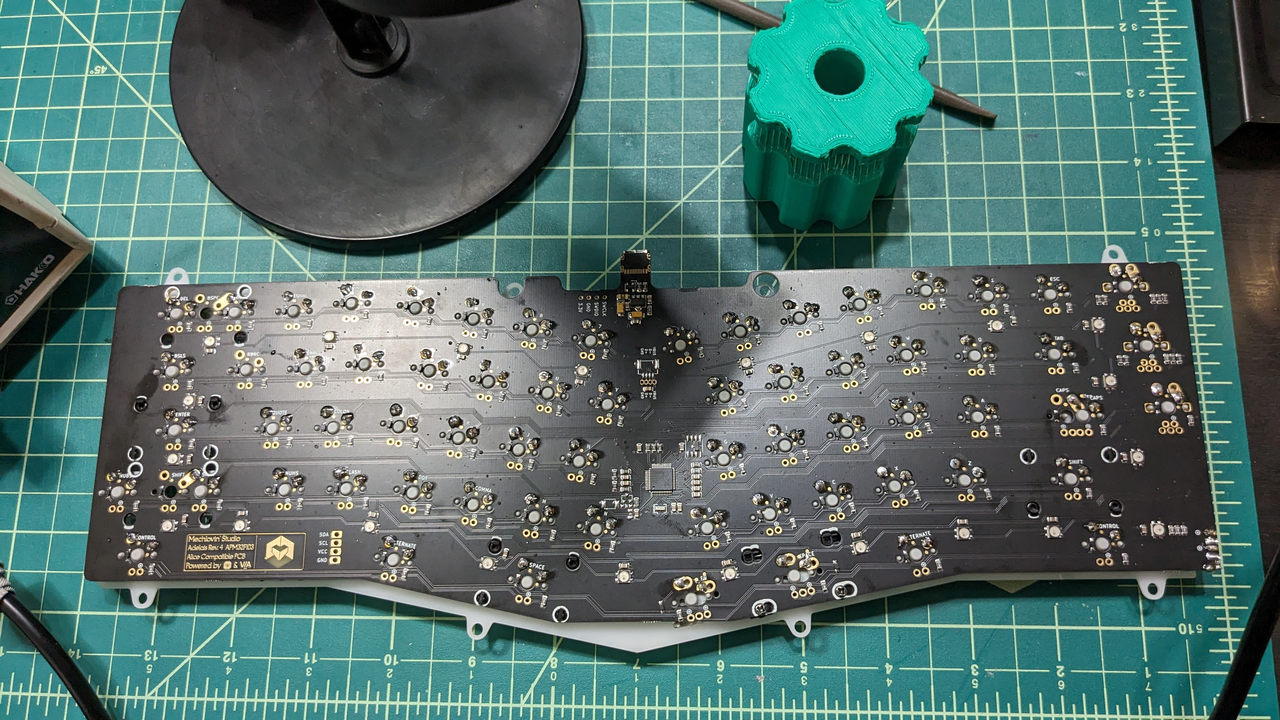
Time to pop in the switches….wait.
Lubing Stabilizers
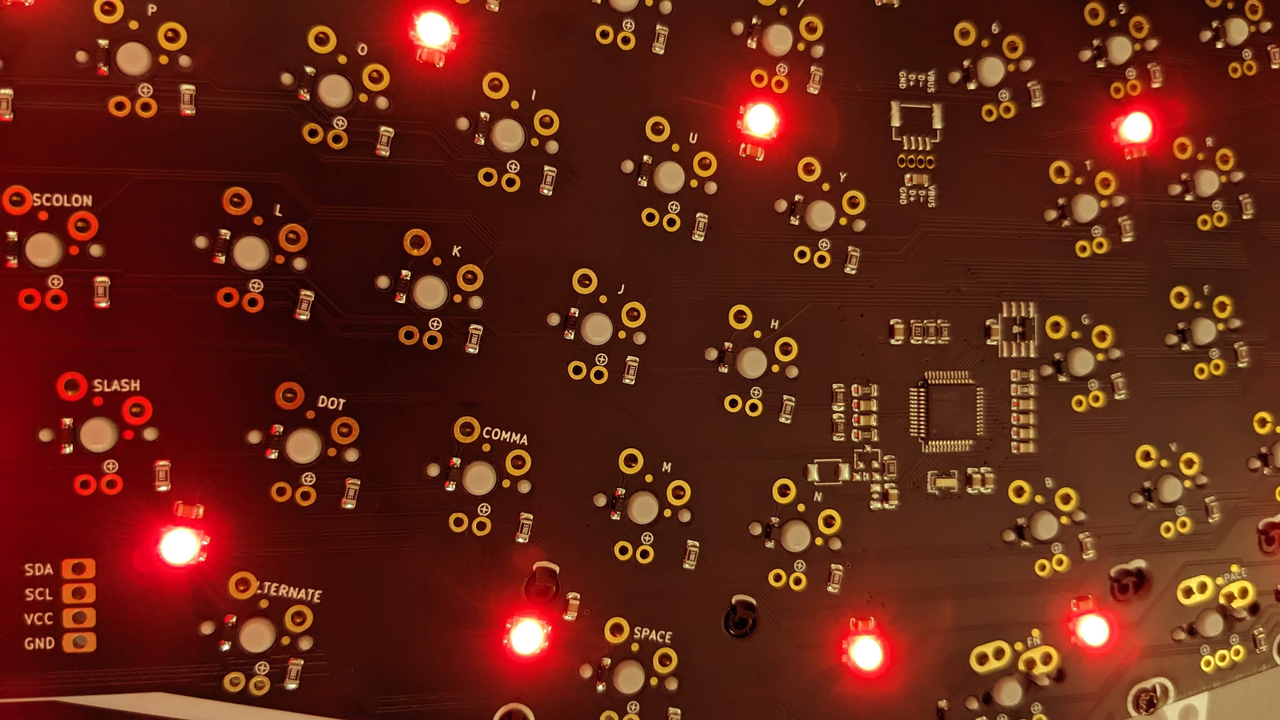
I realize I should test the PCB before I start soldering just in case. I plug in the PCB to do the tweezer testing like I see on LightningXI’s streams….only to be blinded by the max brightness of the stupid LEDs on the board. I try to figure out where in Via how to turn the lighting off and it takes me a few minutes to figure this out. RIP my retinas though. Now that I’m blind, it’s time to pop in the switches and solder.
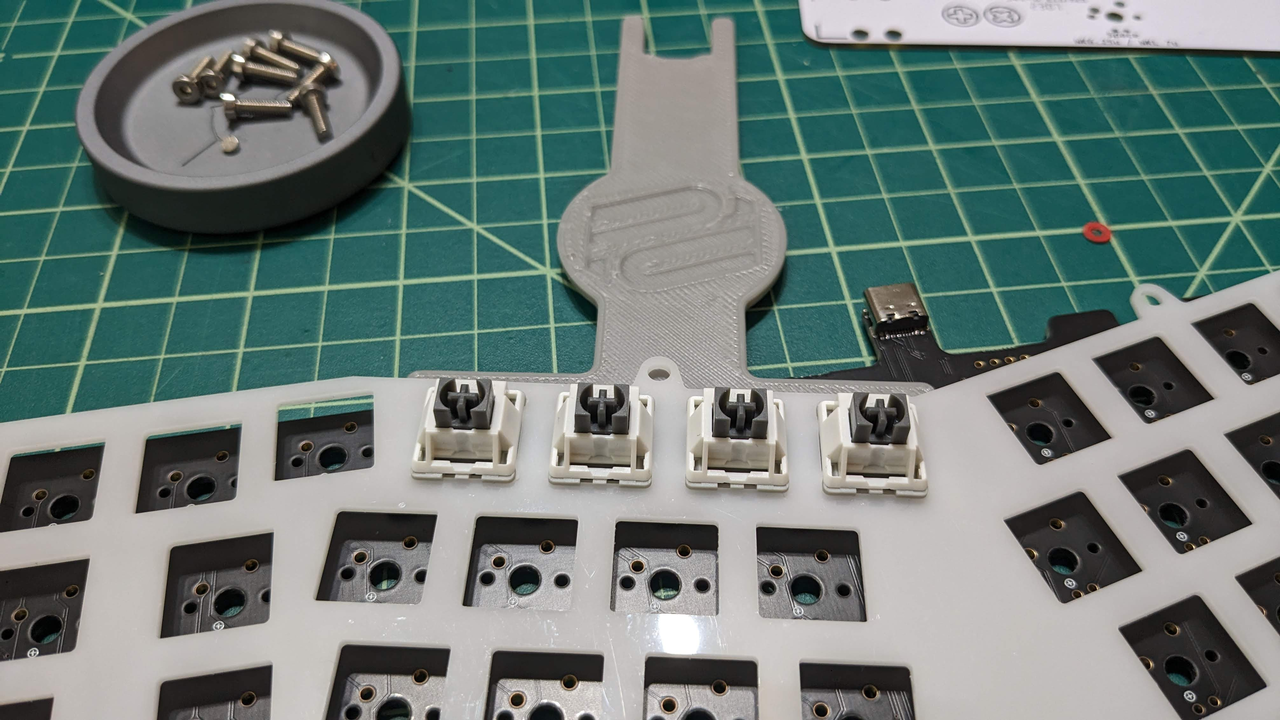
Spacing tool
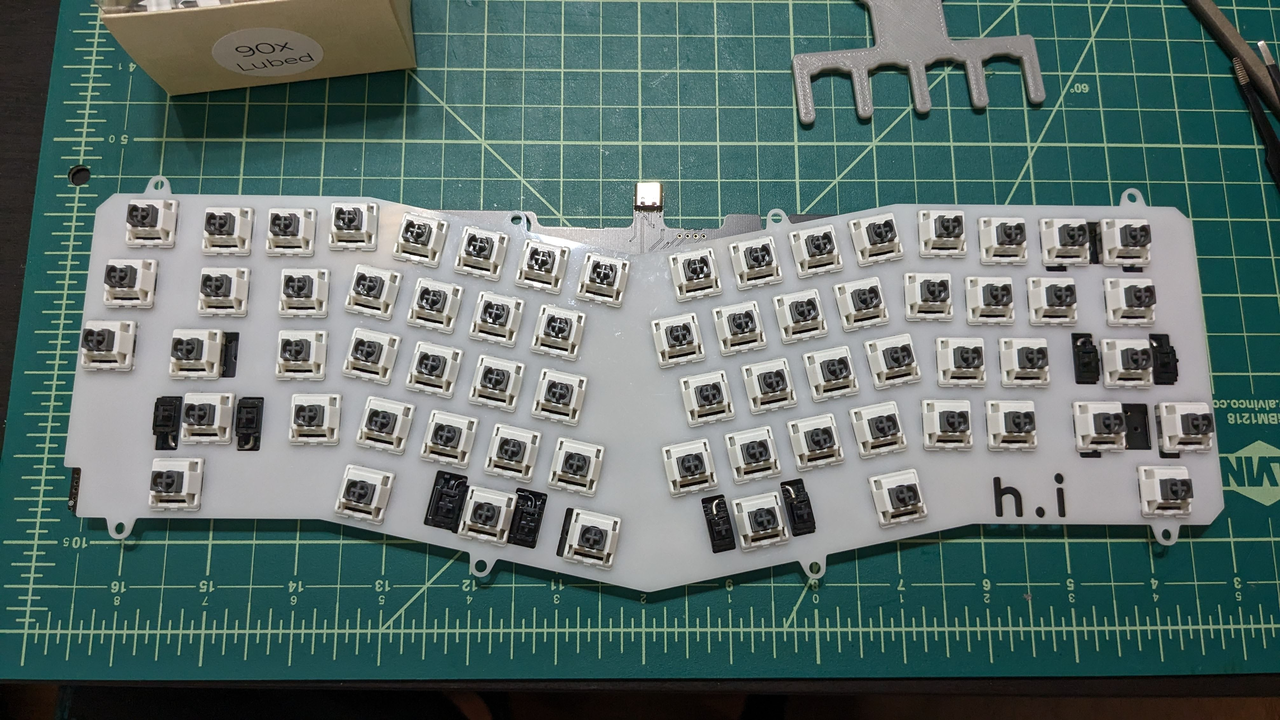
Popped in all the switches
This part is also new to me. I’ve never built a keyboard with a plastic plate and didnt realize how floppy it is so the spacing tool was really handy to use.
Soldering Setup
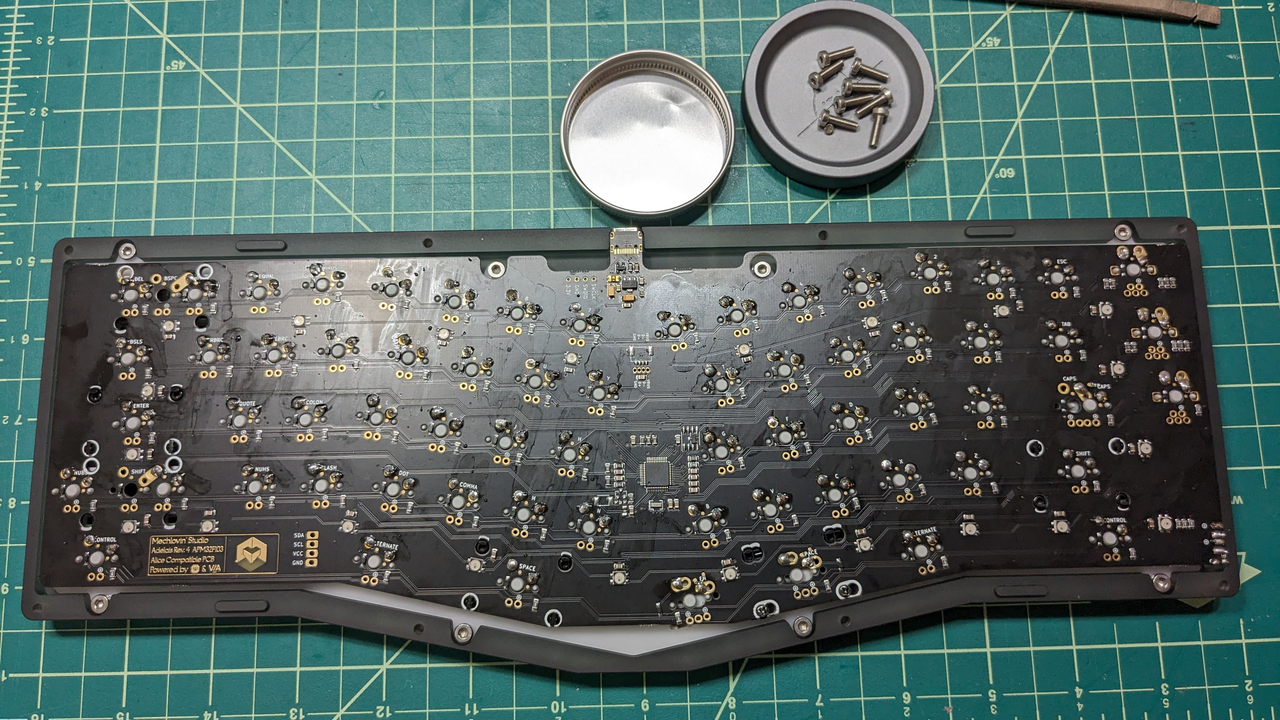
Soldering complete
Finished soldering and popped in the build into the top half of the case. I’m glad soldering is still easy to me and that my gear is still usable.
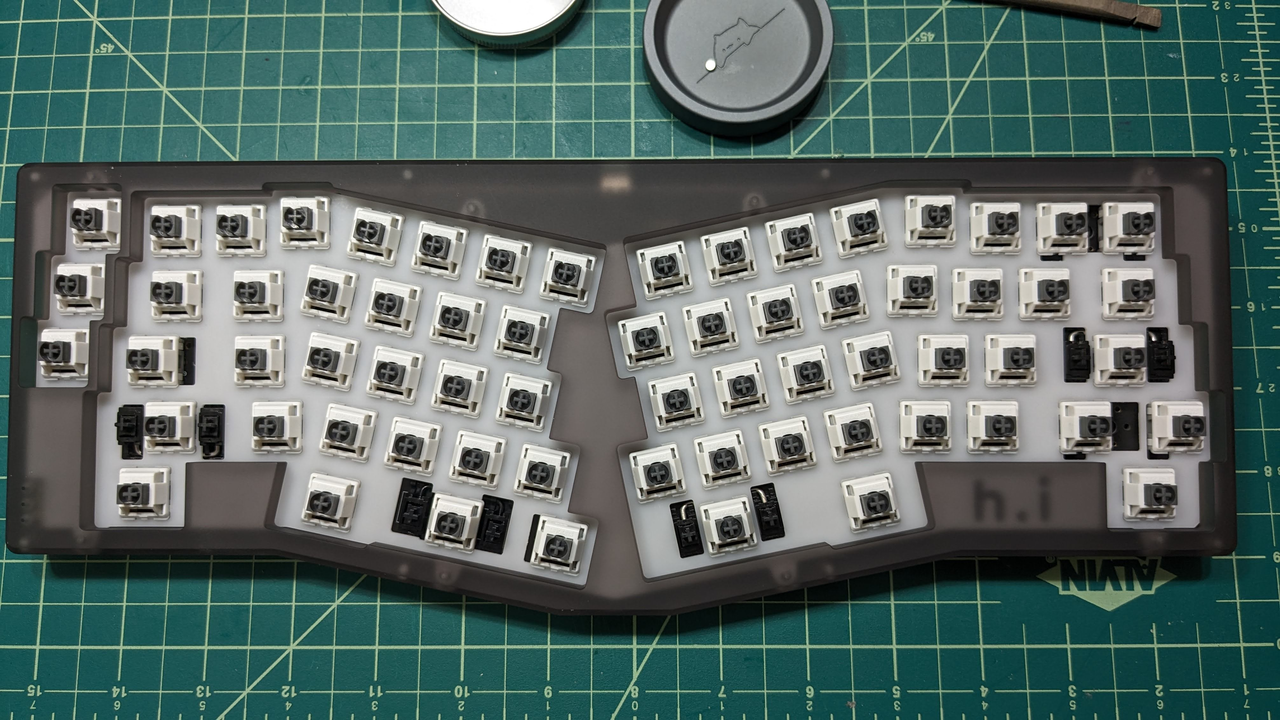
No caps
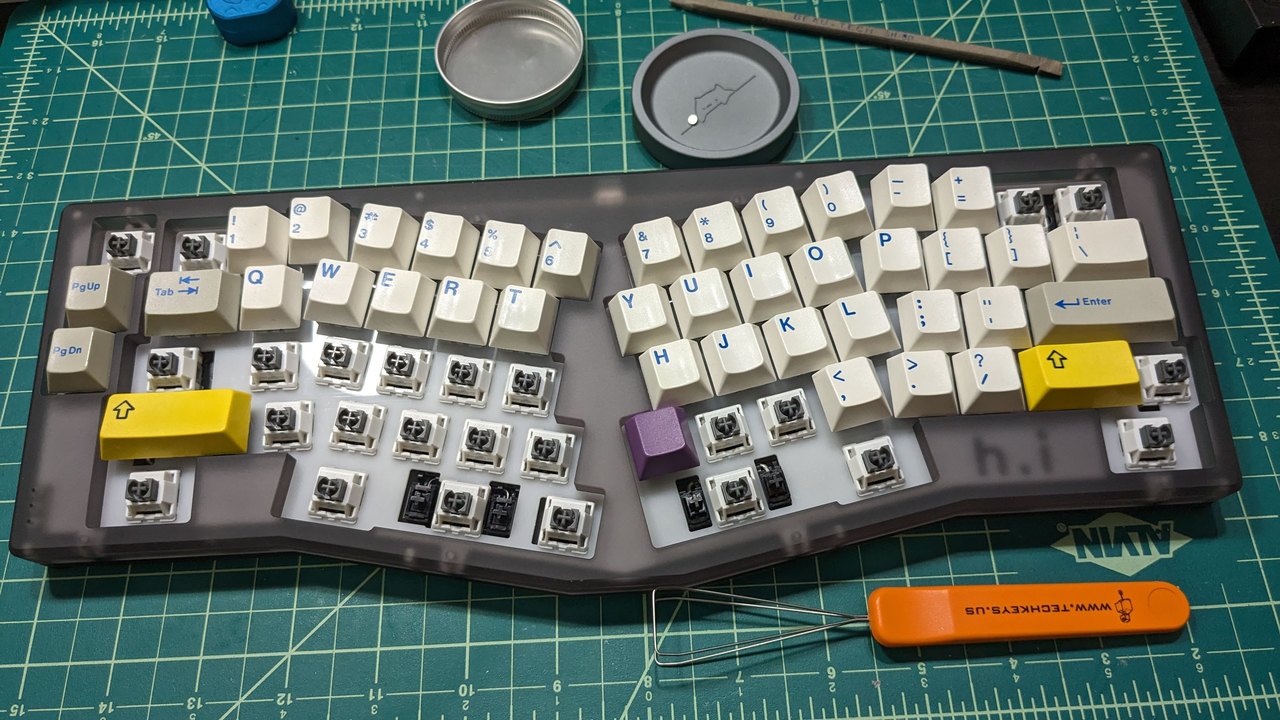
Some caps
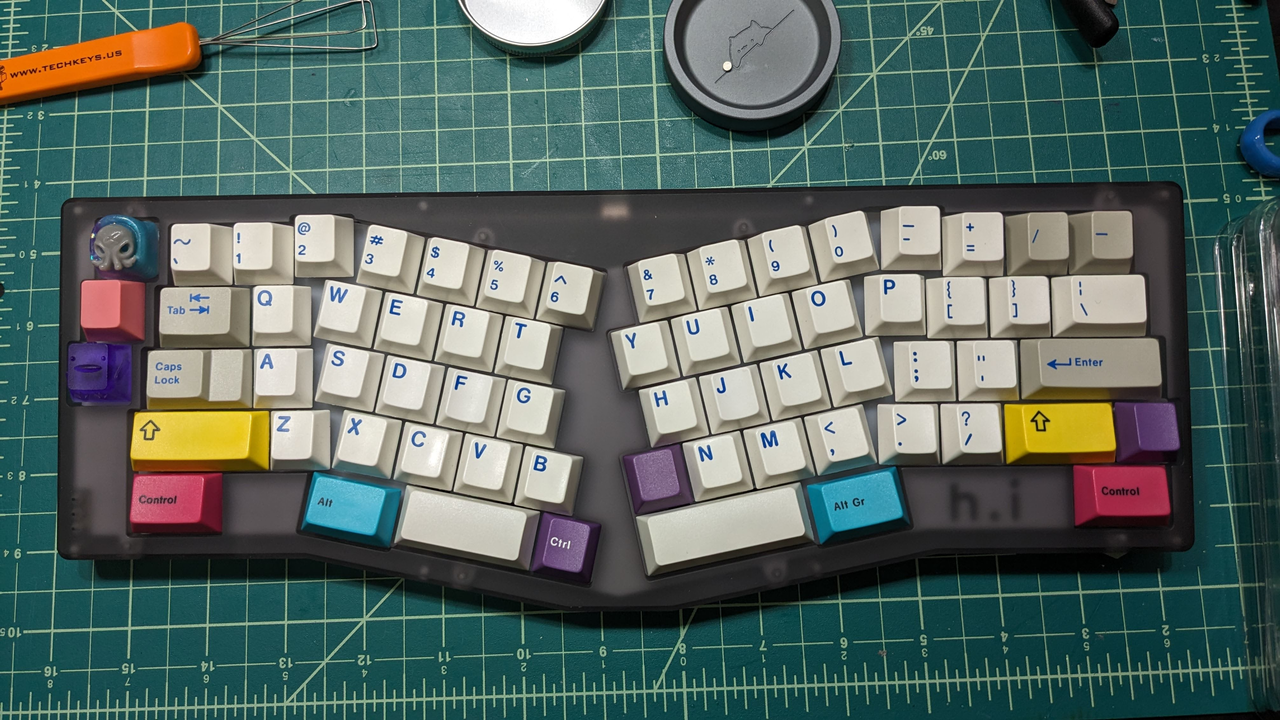
All the caps
Flipped it over and put the caps on. Because I have very old GMK sets (from 2013ish) there is not a lot of compatibilty for Alice layouts. I think I made it work though. I do another test in Via and I’m all set! Now the hardest part is to see what resin I put on the board.
Thanks to…
- extrapriusplease for the helpful stream for reference and sharing your stab experience with me
- LightningXI and Lightningcord for helping me with the stabs
- ThereminGoat for helping me to research new to me switches
- The super helpful stab stoppers video
- Christian for gifting me the plate spacing tool.
- loserism and Ankit for letting me punish them with my stream of conciousness while I was building and working on the build log.
Making zines and other stuff since 2013.